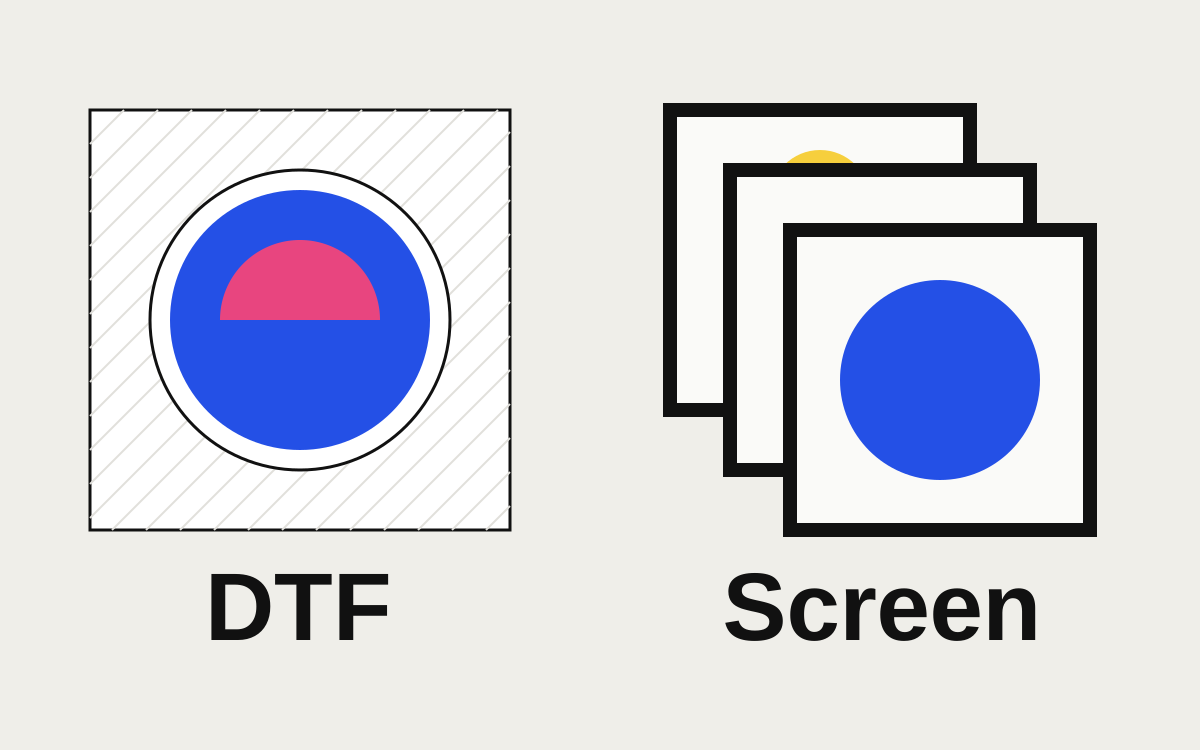
For DTF (direct-to-film), send a PNG with a transparent background at 300 ppi at the exact print size, with no semi-transparent pixels, because soft shadows and glows print as a faint haze. For screen printing, send vector artwork (AI, EPS, PDF or SVG) with every color as a solid spot color, ideally with Pantone references, because each color becomes its own screen. DTF suits short runs and full-color designs; screen printing suits larger runs of designs with a few solid colors.
How the two methods work
DTF prints your design with CMYK ink onto a clear PET film, then lays white ink behind it. A powdered adhesive is applied to the wet ink and cured, and the transfer is heat-pressed onto the garment. The white layer means it works on any color of fabric. There's no setup per color, so a six-color design costs much the same to print as a one-color design of the same size.
Screen printing pushes ink through a fine mesh screen, one screen per color. Making and registering each screen takes time, so the cost is front-loaded: the first shirt is expensive and every shirt after it is cheap. On dark garments a white underbase is usually printed first, which counts as an extra screen.
Which is cheaper, roughly
| Factor | DTF | Screen printing |
|---|---|---|
| Setup cost | Low, no screens | Per color, per screen |
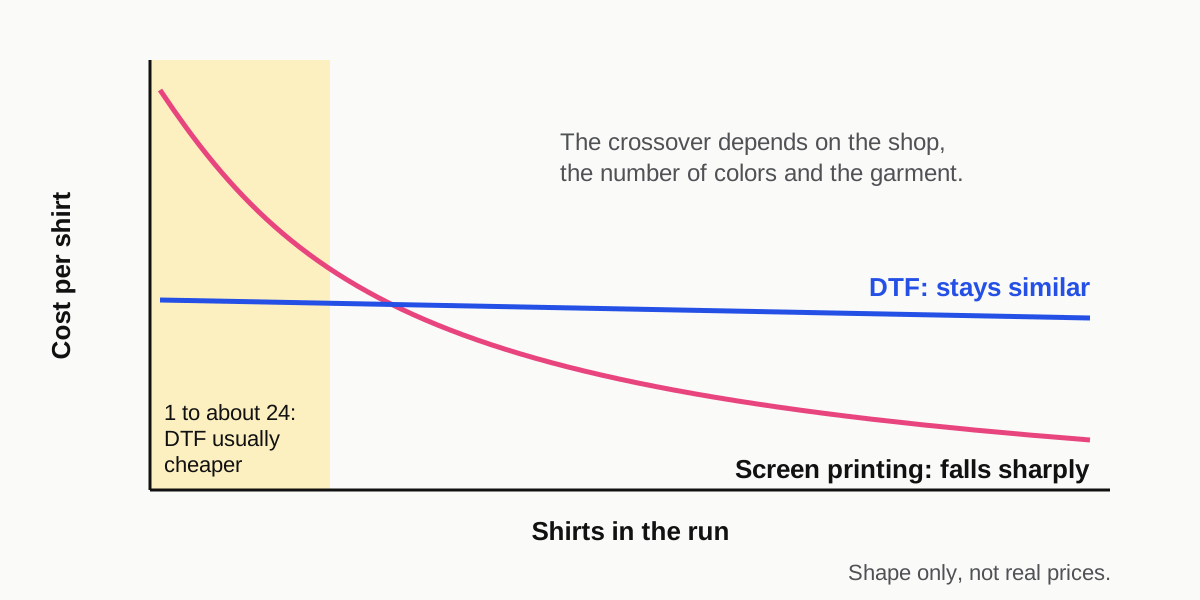
| Small runs (1 to about 24) | Usually cheaper | Usually more expensive per shirt |
| Larger runs of the same design | Cost per shirt stays similar | Cost per shirt falls sharply |
| Number of colors | Doesn't change the price much | Each color adds a screen |
| Photographic designs | Straightforward | Needs simulated process separations |
| Feel on the shirt | A thin film layer | Ink in or on the fabric; soft with water-based inks |
| Durability | Good when pressed correctly | Very good with plastisol |
Where the crossover sits depends on the shop, the number of colors and the garment, so ask for both prices if you're unsure. Screen printing also offers inks DTF can't match easily, such as metallic, puff and glow inks and exact Pantone matches.
Preparing a DTF file
Size and resolution
Build the artwork at the exact size it will print. A typical adult front print is 10 to 12 in wide, a left-chest logo 3.5 to 4 in, and a full back print up to about 12 to 14 in wide, though shops and garment sizes vary. At 300 ppi, a 12 in wide print needs 3,600 pixels across. If you're not sure your image has enough pixels, our DPI calculator will tell you how big it can print.
Enlarging a small image to the right pixel count doesn't add detail. A logo saved from a website at 500 pixels wide stays soft however it's resized, and DTF prints that softness faithfully. The real fix is a vector redraw, not a bigger PNG.
Transparent background
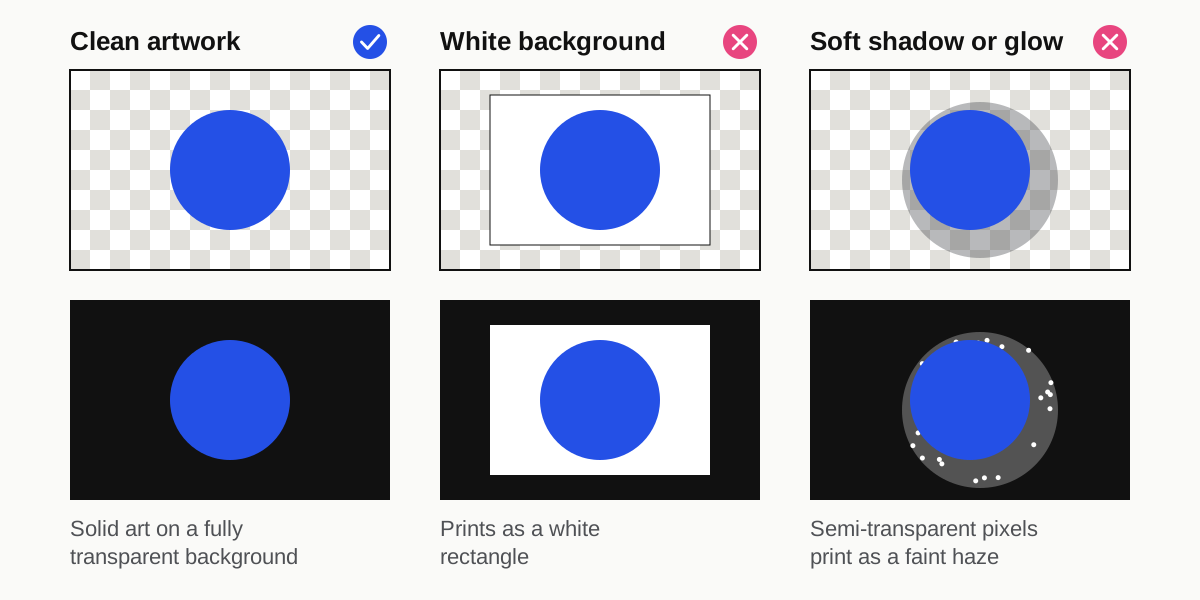
Export as PNG with transparency. Anything that should show the shirt color must be fully transparent, not white. A white background in a DTF file prints as a white rectangle.
No semi-transparency
This is the trap that catches most DTF files. The printer decides where to put white ink based on the image's transparency. A pixel that's 40% opaque gets partial white and partial color, which on the shirt can look like a faint, cloudy halo or speckling. Common sources:
- Drop shadows and outer glows
- Feathered or blurred edges on photos
- Brushes with soft edges
- Anti-aliasing around the edge of text, which is usually acceptable but worth checking on fine type
- Opacity set below 100% on any layer
Either remove those effects, flatten them onto a solid background shape within the design, or convert them to a halftone pattern of solid dots, which DTF prints cleanly.
Thin lines and small text
Very fine lines and tiny gaps can lift or fail to transfer cleanly. Many DTF shops suggest lines of at least about 0.5 to 1 mm and text no smaller than about 8 pt at print size. Check your shop's own guidance; it varies with their film, powder and press.
Color
Most DTF printers accept RGB PNGs and convert them through their own setup, and some prefer RGB because it gives their software more to work with. Bright neons and some saturated colors won't reproduce exactly. If a color must match, ask whether the shop can print a test.
Gang sheets
Many DTF suppliers sell transfers by the sheet or by the length of a roll, often 22 in wide. You arrange as many designs as fit on a "gang sheet" and pay for the area. If you're building your own, keep a gap of about 0.25 to 0.5 in between designs so they can be cut apart.
Preparing a screen print file
Vector, solid colors
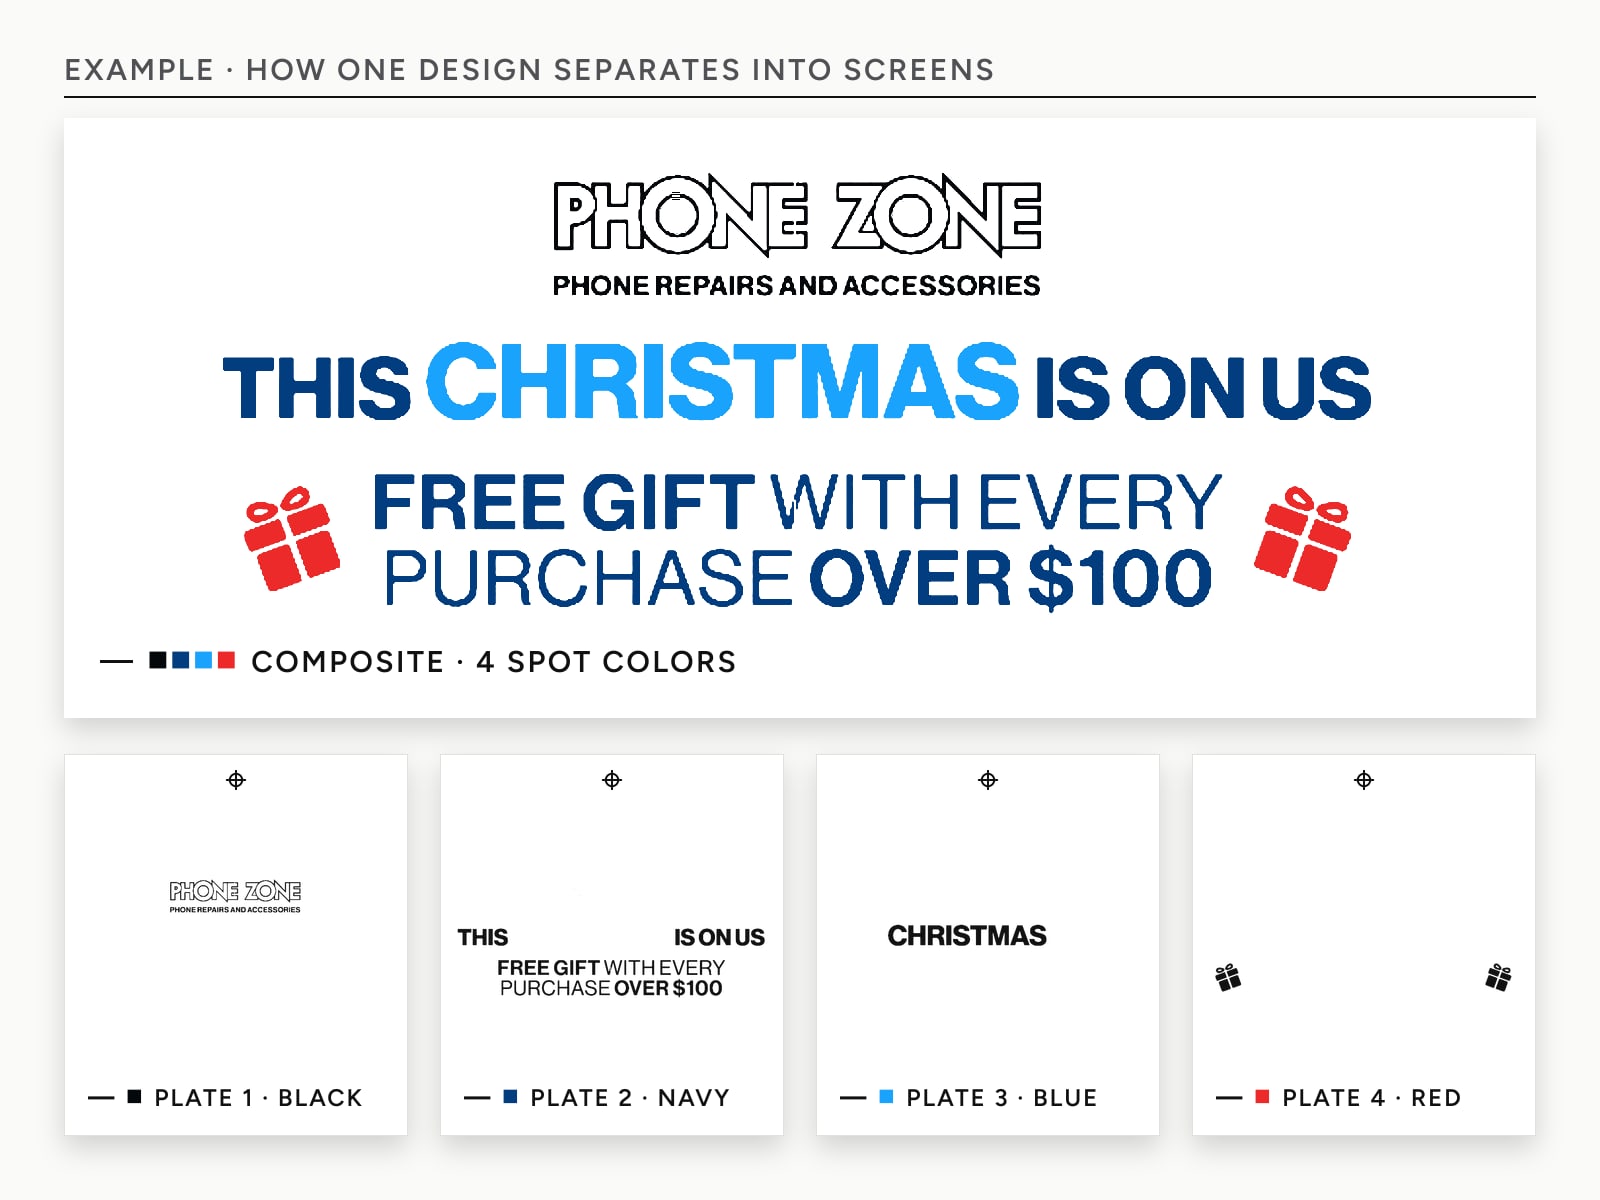
Screen printing needs each color separated into its own film. That's simplest from vector art where every element is a solid fill in a named color: a three-color logo becomes three clean films. Gradients, photos and soft effects need halftone or simulated process separations, which are a skilled job in their own right, and one our screen print separations service handles.
Name the colors
Use spot color swatches with Pantone references, even if the shop mixes its own inks. "PMS 186 C red" is unambiguous; "the red from our website" isn't.
Fewer colors where possible
Each color costs a screen and a press setup. Look for colors that are close enough to merge, and for outlines that could be dropped. A design that works in two colors will cost noticeably less across a run than one that needs five.
Line weights
Very fine lines can fail to hold in the screen mesh. Lines of around 0.5 pt or more, and 1 pt or more for white ink on dark shirts, are a common minimum, but the mesh count and ink decide. Text below about 6 to 8 pt is risky.
Garment color
Tell the printer the shirt color. Light inks on dark garments need an underbase, and a design built for white shirts often needs adjusting for black ones, because colors that sit on white fabric can disappear into dark fabric.
One logo, two files
If a brand uses both methods (DTF for one-off samples, screen printing for bulk orders), it's worth keeping both versions of the logo ready:
- A vector master with spot colors, for screen printing, vinyl and embroidery
- A transparent PNG export at the largest size you're likely to print, for DTF
Both should come from the same vector source, so the logo looks identical whichever process prints it.
Common file problems
- White background on a DTF PNG, printing as a white box.
- Low-resolution logo, enlarged to size and printed soft. What can and can't be rescued is covered under low resolution images.
- Drop shadow under text on a DTF file, printing as a gray haze.
- A raster JPG sent for screen printing, which the shop has to redraw or separate before it can make screens.
- Too many colors for a screen print budget.
If your logo needs cleaning up for either method, a transparent DTF-ready file is a $10 fix with us, or $25 if the logo has to be redrawn as vector first.
FAQ
What file format is best for DTF printing?
A PNG with a transparent background, at 300 ppi at the exact print size. Anything that should show the shirt must be fully transparent, and anything printed should be fully opaque, because semi-transparent pixels print as a faint haze.
Can I use the same file for DTF and screen printing?
The same design, yes, but usually not the same file. Screen printing works best from vector artwork with solid spot colors, one per screen. DTF needs a transparent raster PNG at print size. Keep a vector master and export the DTF file from it.
Is DTF or screen printing better for small orders?
DTF is usually cheaper for small runs and full-color designs, because there are no screens to make. Screen printing usually becomes cheaper as quantities grow, especially for designs with only a few solid colors. Ask the shop to quote both if you're near the crossover.